



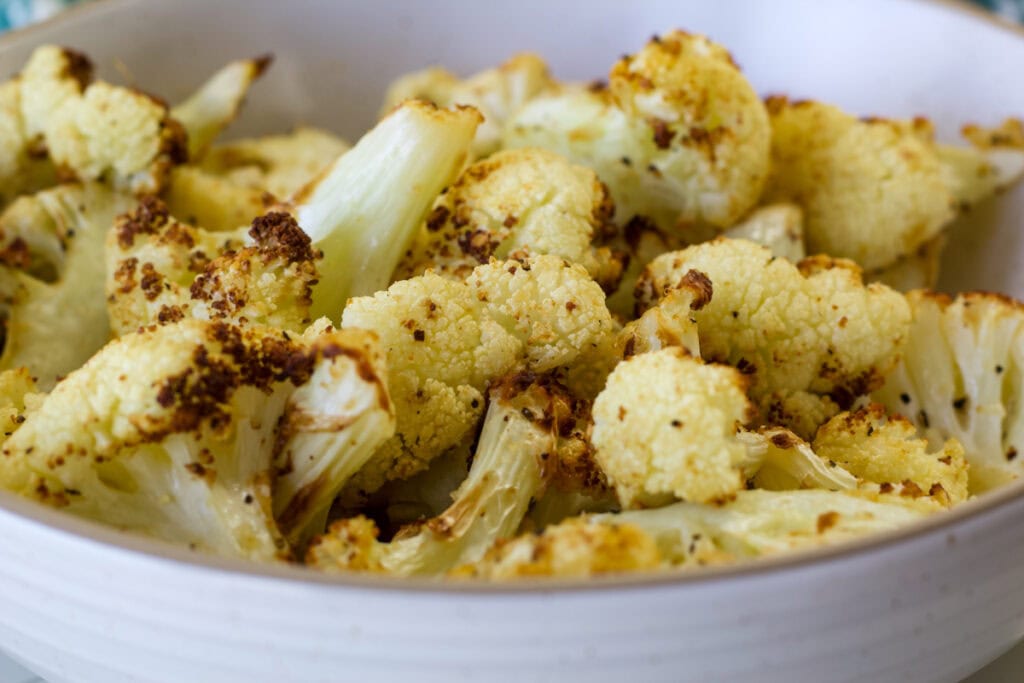
If you’ve been struggling with soggy veggies, learning how to air fry cauliflower is a total game-changer. In about 20 minutes, you get those deep, roasted, crispy edges that usually take twice as long in the oven. It’s my go-to when I need a quick side dish that actually tastes like comfort food.
Jump to:
- Why You’ll Love This Recipe
- Why We Make This on Repeat
- Ingredient Notes & Substitutions
- Black Spots on Cauliflower: Safe to Eat?
- How to Air Fry Cauliflower (Step-by-Step)
- Tips for Crispy Cauliflower
- Why 16–18 Minutes is the “Sweet Spot”
- Storage and Reheating
- Frequently Asked Questions
- More Air Fryer Recipes You’ll Love
- Crispy Air Fryer Cauliflower
Why You’ll Love This Recipe
- Healthy. Cauliflower is nutrient-dense and a great low-carb side dish that pairs well with many main meals.
- Flavorful. Simple seasoning and olive oil bring out the natural flavor and help create crispy, golden edges.
- Easy. Just toss the cauliflower florets with oil and spices, then air fry for a quick and easy side dish.
Why We Make This on Repeat
Air-fried cauliflower has become our favorite way to enjoy this veggie as a side dish.
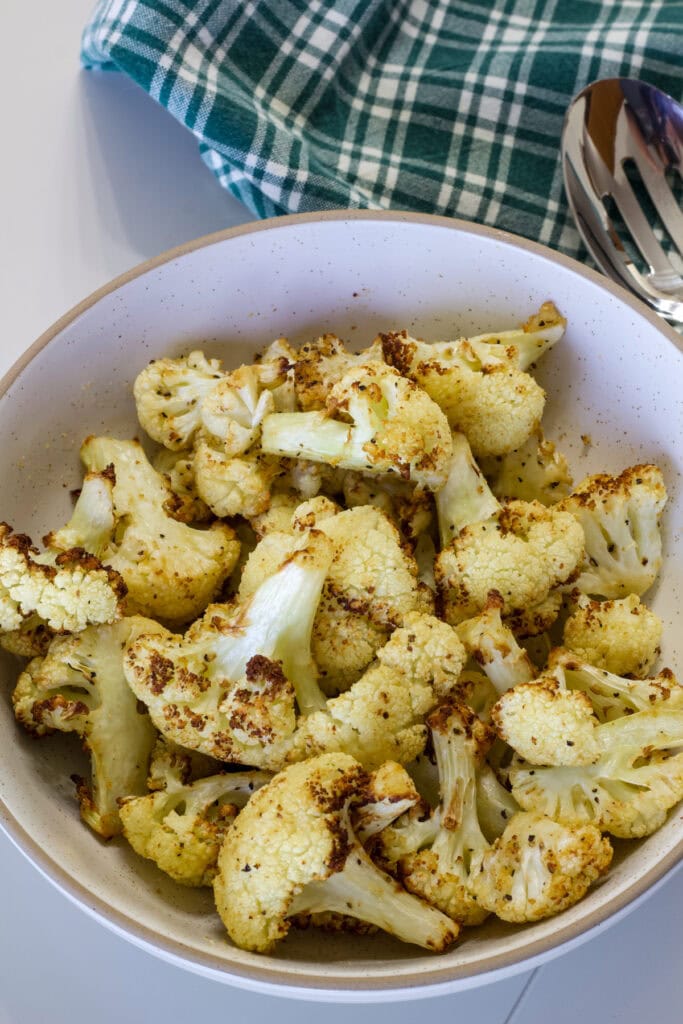
It’s quick, simple, and always comes out crispy on the edges with a tender center.
My husband honestly complains if I make it any other way now and it disappears fast every single time I make it.
It’s one of those recipes that just works with almost anything, whether we’re having it alongside chicken, burgers, or a simple pasta dish.
I love that it takes only a few ingredients and still feels like something everyone is excited to eat.
Ingredient Notes & Substitutions
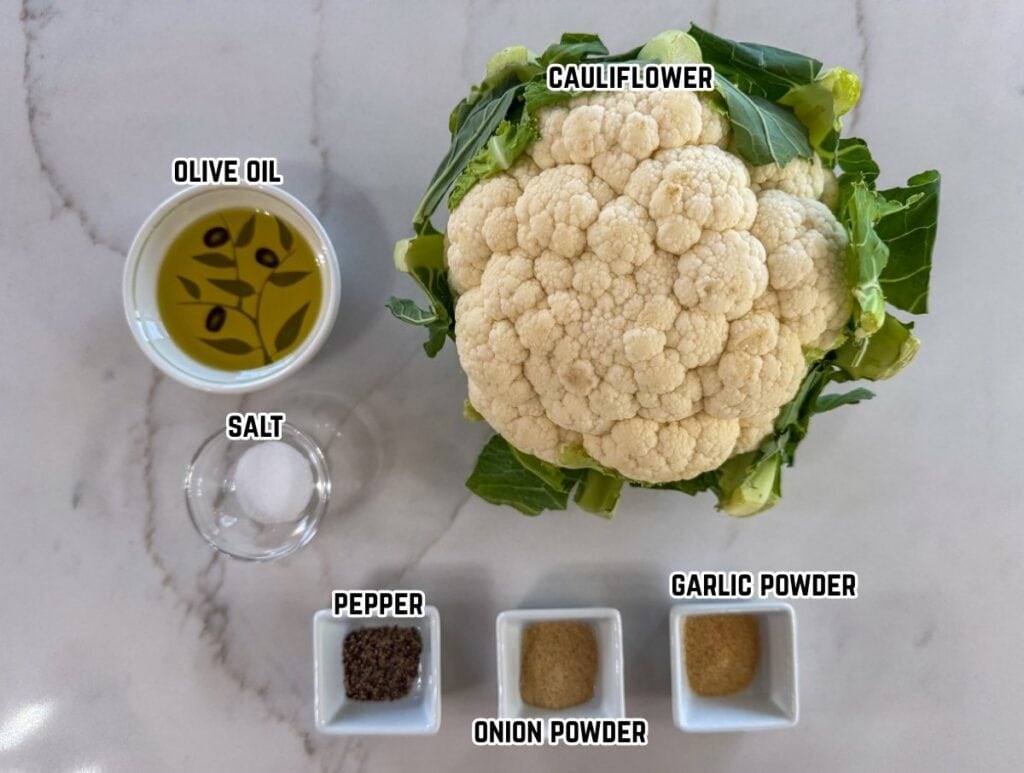
Cauliflower: Fresh cauliflower works best for this recipe because it gets the crispiest texture in the air fryer. Frozen cauliflower can also be used, but it should be thawed and well dried first to remove excess moisture. It will turn out slightly softer than fresh. White, orange, and purple cauliflower all cook in about the same amount of time in the air fryer and crisp up nicely—the main difference is just the color. Choose a head that is firm and tightly packed with bright green, crisp leaves. Avoid any that feel soft or have mushy spots.
Oil: I like extra virgin olive oil in this dish, but you can also use vegetable oil, canola oil, avocado oil, or your favorite cooking oil.
Seasonings: This is simply seasoned with garlic powder, onion powder, salt, and black pepper. You can also swap or add spices like smoked paprika, chili powder, cumin, turmeric, curry powder, or a pinch of cayenne pepper or crushed red pepper flakes for a little heat.
Black Spots on Cauliflower: Safe to Eat?
Yes, black spots on cauliflower are usually just bruising or natural discoloration and are generally safe to eat. You can simply cut them off before cooking if you prefer.
However, if the spots are soft, mushy, slimy, or have a bad smell, it’s best to discard those areas or the whole head of cauliflower.
We find that most cauliflower has at least a few small spots, either when we buy it or by the time we’re ready to cook it, and it still works perfectly fine once trimmed and air-fried.
How to Air Fry Cauliflower (Step-by-Step)
Jump to RecipeHere’s a quick look at the main steps with photos. Just scroll (or jump) down to the recipe card for the full recipe with exact measurements and more detailed instructions.
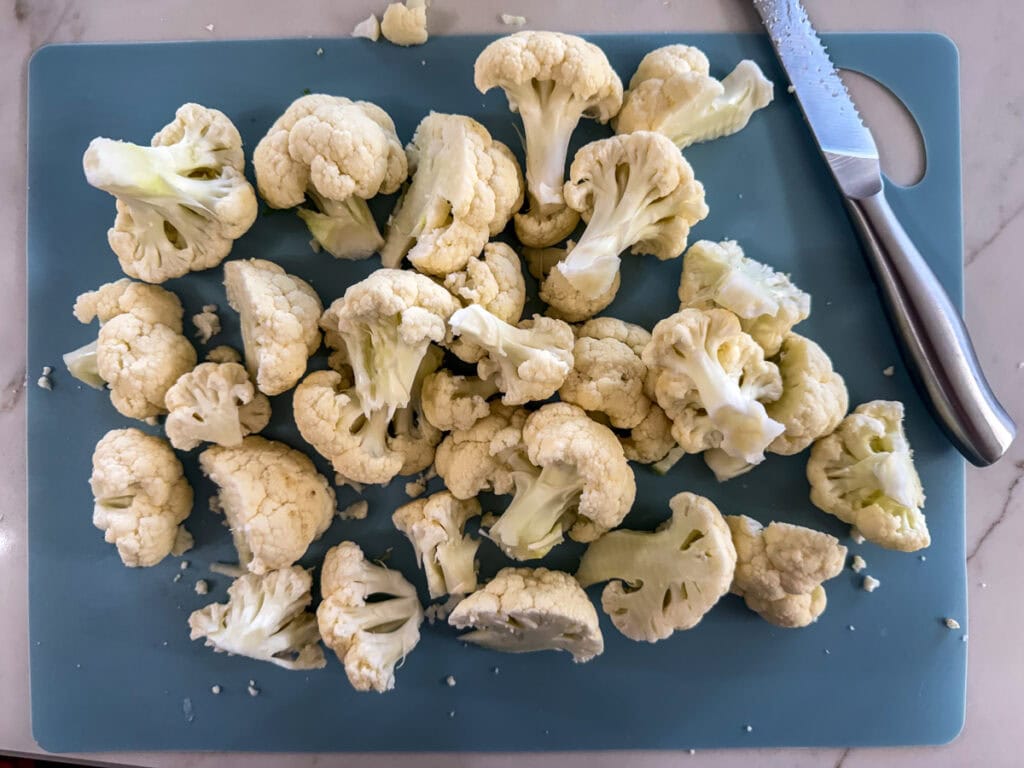
Prep: Cut the cauliflower into even-sized florets so they cook evenly.
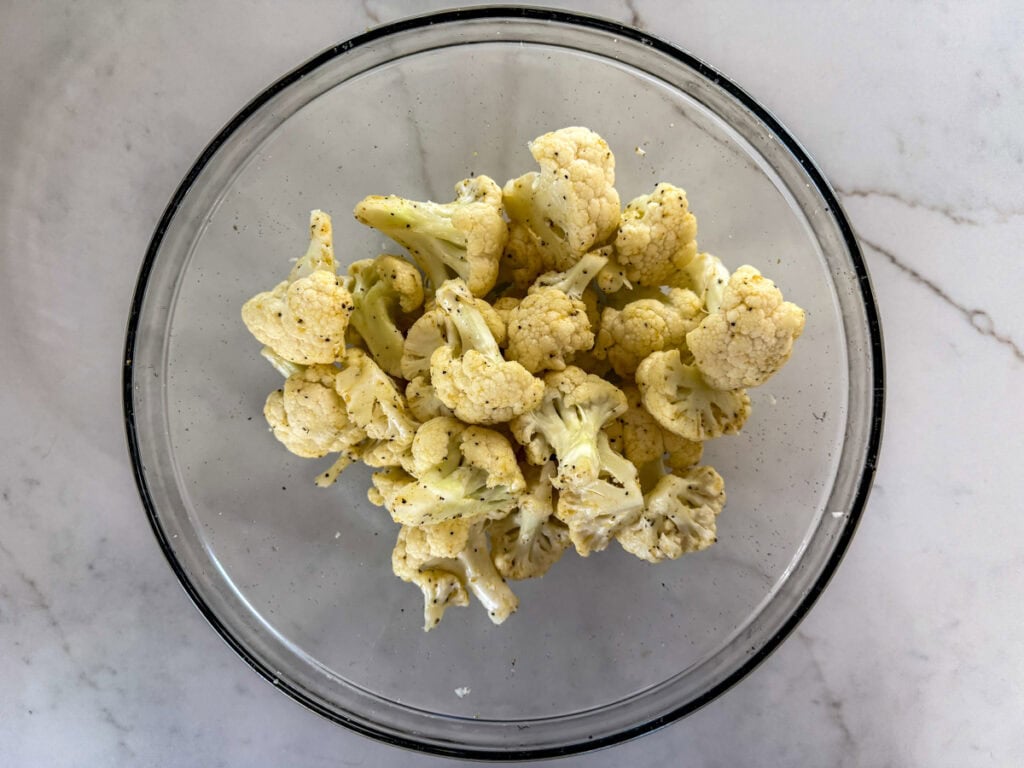
Season: In a large bowl, mix the oil and seasonings, then toss the cauliflower until evenly coated.
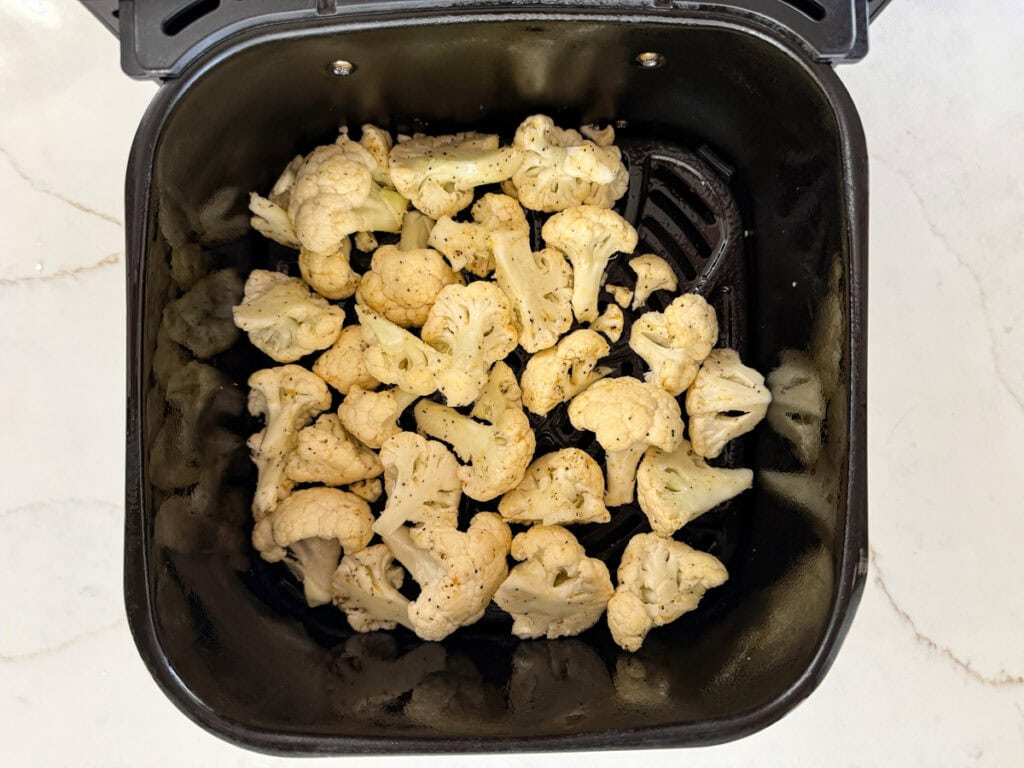
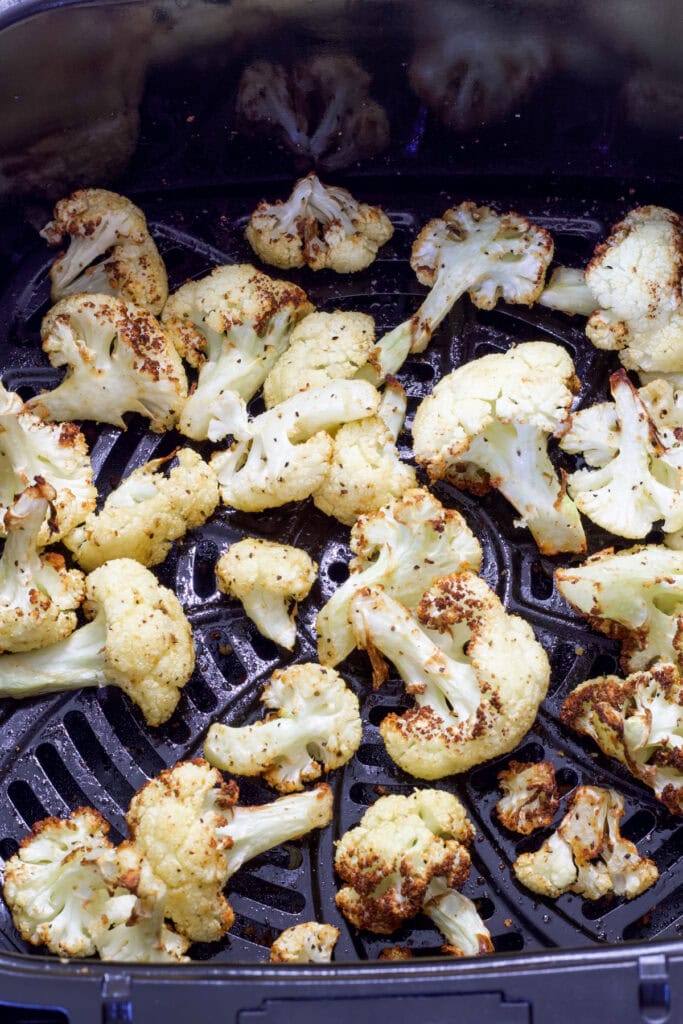
Air fry: Cook at 400°F for 16–18 minutes, shaking the basket every 5 minutes to help the cauliflower crisp up evenly.
Tips for Crispy Cauliflower
- Try to arrange the cauliflower in a single layer in the air fryer basket, but don’t stress over it too much.
- Shaking the basket every 5 minutes helps the hot air circulate evenly and creates more crispy edges.
- I don’t recommend reducing the oil, since it helps the cauliflower crisp up properly.
Why 16–18 Minutes is the “Sweet Spot”
Every air fryer is different, but through testing, I’ve found that 16–18 minutes is the magic window. While many recipes suggest stopping at 15 minutes, that extra bit of time is what creates those deep, roasted, crispy edges we’re after. It ensures the cauliflower stays firm and “roasted” rather than turning soft or mushy. Plus, compared to the 30–40 minutes it takes to roast in a traditional oven, this method is a massive time-saver.
Storage and Reheating
Store leftover cauliflower in an airtight container in the refrigerator for up to 3–4 days.
To reheat, air fry at 375°F for 3–5 minutes until warmed and crispy again. You can also reheat it in the oven or in a skillet (the air fryer gives the best texture).
Frequently Asked Questions
Yes, but it should be thawed and patted dry first. Keep in mind it will have a softer texture than fresh cauliflower.
The most common reasons are overcrowding the air fryer basket or not shaking it during cooking. Both prevent proper air circulation, which is key for crisping.
No, preheating is not necessary for this recipe.
Yes, but the cauliflower will not crisp up as well and the texture will be noticeably different.
More Air Fryer Recipes You’ll Love
- Air Fryer Sliced Potatoes (crispy side dish idea)
- Air Fryer Frozen Onion Rings (quick appetizer)
- Air Fryer Cube Steak (easy dinner option)
Love this recipe?
Leave a comment and a ⭐⭐⭐⭐⭐ rating below!
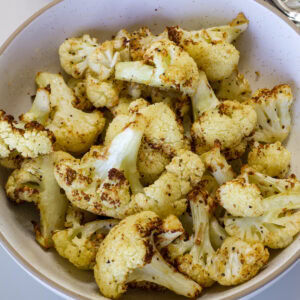
Crispy Air Fryer Cauliflower
Like my recipes? Follow me on Google! Add Mindy’s Cooking Obsession as a Preferred Source to see more of my recipes in your Google search results.
Equipment
- Air Fryer
Ingredients
- 1 head cauliflower about 2 pounds
- 2 tablespoons olive oil
- ½ teaspoon garlic powder
- ½ teaspoon onion powder
- ½ teaspoon salt
- ¼ teaspoon black pepper
Instructions
- Cut cauliflower into even-sized florets.
- In a large bowl, toss cauliflower with oil and seasonings until evenly coated.
- Spray the basket liberally with nonstick cooking spray then place the cauliflower in a single layer in the air fryer basket.
- Air fry at 400°F for 16–18 minutes, shaking the basket every 5 minutes, until golden brown and crispy.


About Mindy
Mindy has been cooking for over 30 years, starting as a young mother who learned how to create delicious meals on a budget. Today, she shares approachable recipes made with everyday ingredients that are easy, affordable, and family-friendly. Her goal is to show that great food doesn’t need to be complicated or expensive.