


Need a satisfying breakfast that’s ready in a flash? Our Perfect Ham and Cheese Omelet is done in about 10 minutes from start to finish! With deli-sliced ham that warms up quickly and almost no prep work, this is a quick breakfast that’s perfect for a weekday morning.

Jump to:
This ham and cheese omelet recipe couldn’t be easier! It’s hearty and filling all on its own, but if you have a little extra time, pair it with fruit salad and fried potatoes for the perfect weekend breakfast or brunch.
I cook my omelets low and slow, so they turn out perfectly tender with just a slight golden color on the outside. Once the eggs hit the pan, we let them cook for a bit before adding the toppings—just enough time for the ham to warm up and the cheese to melt.
To keep things quick and easy, I usually use pre-shredded cheese (I know, a no-no in the culinary world—but hey, it’s a great way to get breakfast on the table fast with minimal prep).
If you have the time, freshly grated cheese is always a great option. Sometimes, we do that too!

Ingredient Photo
See recipe card for exact amounts.

Ingredient Notes
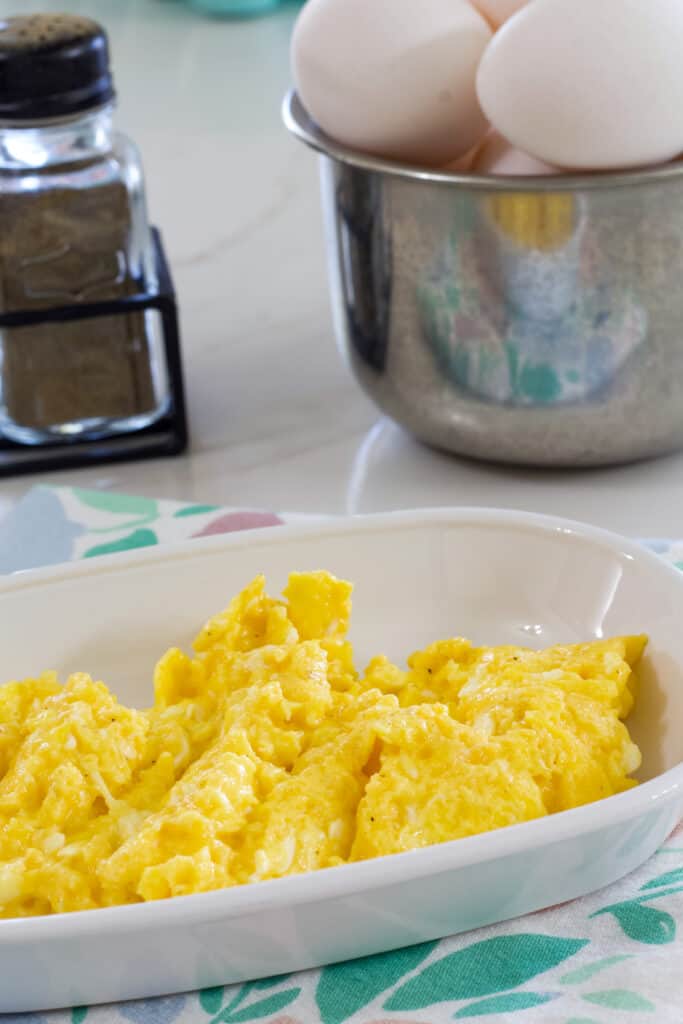
- Eggs: I use two large eggs for one omelet.
- Ham: Thinly sliced deli ham is ideal since it heats up quickly. If you’re using leftover ham in chunks or thick slices, warm it in the skillet before making your omelet.
- Cheese: Pre-shredded cheese doesn’t melt as smoothly as freshly grated, but we use it most of the time to cut down on prep. This time, we used a Colby Jack blend, but just about any cheese works. My favorite is sharp cheddar cheese, but Lee prefers the blend.
- Liquid: I occasionally add a splash of cream if I already have some in the fridge, but regular milk works just as well. Even water does the trick!
- Butter: Use real butter or margarine—whatever you have on hand works great.
- Seasoning: We season our omelets with a pinch of salt and black pepper, not too much.
Process Photo

How to Reheat an Omelet
- Microwave: Place the omelet on a microwave-safe plate and heat for 30-60 seconds until warmed through.
- Oven: Preheat to 350°F. Place the omelet on a sheet pan and cover with foil. Warm for about 5 minutes, or until heated through. Be careful when removing the foil, as steam may escape.
- Stovetop: Heat a little oil or butter in a nonstick skillet over medium heat. Warm the omelet for 2-3 minutes per side, or until heated through.
- Toaster Oven: Lightly grease the tray and place the omelet inside. Cook at 350°F for 4-5 minutes. The omelet may crisp up slightly.

Frequently Asked Questions
Store in the refrigerator in an airtight container for about 4 days.
Yes! Omelets freeze well for up to 3 months. Let them cool completely, then stack multiple omelets with parchment paper in between to prevent sticking. Store them in an airtight container or freezer-safe bag for best results. Thaw in the refrigerator overnight before reheating.
Follow me on social for more deliciousness!
Try these easy breakfast recipes next!

Scrambled eggs, beans, cheese, and salsa atop a warm flour tortilla, perfect for any meal!
Did you love this recipe?
We would love it if you’d leave a comment and ⭐️⭐️⭐️⭐️⭐️ review below!

Perfect Ham and Cheese Omelet Recipe
Ingredients
- ½ tablespoon butter
- 2 eggs
- 2 slices deli ham
- ¼ cup shredded cheese
- 1 tablespoon heavy cream OR milk OR water
Instructions
- Melt the butter in a skillet over medium-low heat, swirling it around to coat the bottom.½ tablespoon butter
- In a small bowl, beat the eggs and cream (or water or milk) until light and fluffy.2 eggs, 1 tablespoon heavy cream OR milk OR water
- Pour in the egg mixture and let it cook for about 5 minutes, or until it starts to set. (The time may vary depending on your pan and stove.)
- Once the eggs are cooked to your desired doneness, add the ham and cheese to one side.2 slices deli ham, ¼ cup shredded cheese
- Using a turner or rubber spatula, carefully fold one half of the omelet over the other.
- Let it cook for another minute or two, then transfer to a serving plate.


About Mindy
Mindy has been cooking for over 30 years, starting as a young mother who learned how to create delicious meals on a budget. Today, she shares approachable recipes made with everyday ingredients that are easy, affordable, and family-friendly. Her goal is to show that great food doesn’t need to be complicated or expensive.